How to Design a Book Cover
They say not to judge a book by its' cover... but who is 'they' anyways? Your book cover design should represent your book well and be something that you are proud of. It should be unique and customized for you personally. It can be tempting to use a free template online, and although that would be easier, the hard work is worth it when you start from scratch. This guide will enable you to confidently create a cover design that is a reflection of the hard work that you put into the book itself.
Step 0: Before getting started...
Write down a brief description and a list of words that match the vibe of your book. For example, if I was making a list of words for Harry Potter, I would do: magical, witches & wizards, spells, bravery, good vs evil, loyalty, coming of age, enchanted, etc. Doing this will help you make design decisions as you move forward.
Step 1: Get inspired
Look at the covers of other books in your genre. What themes, colors, layouts, and images stand out to you? Create an inspiration board with ~20 covers that you are drawn to. Pinterest is a great place to start! We also love these unique ideas from Adobe.
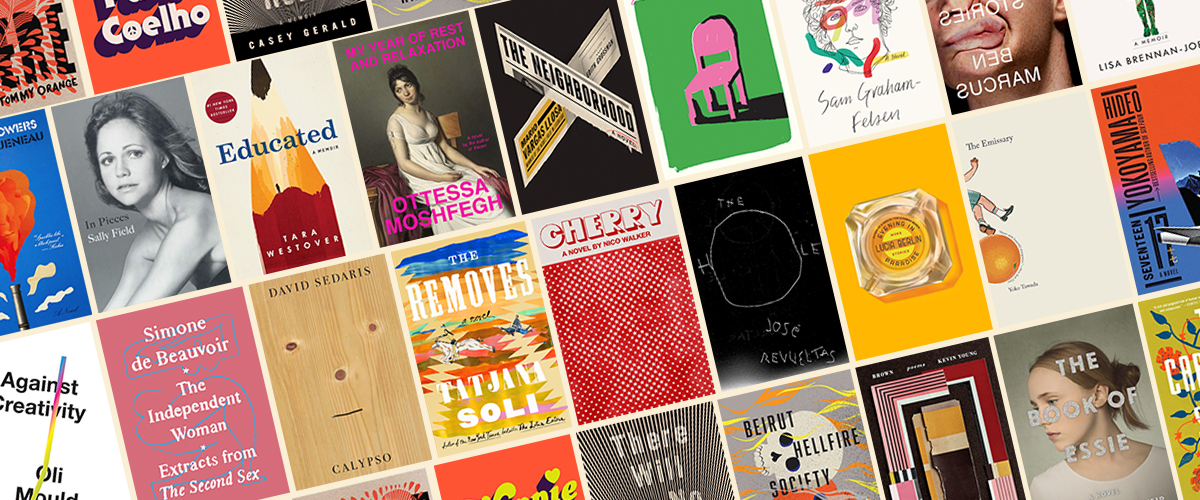
Image source: Lithub.com
Step 2: Select design elements you love
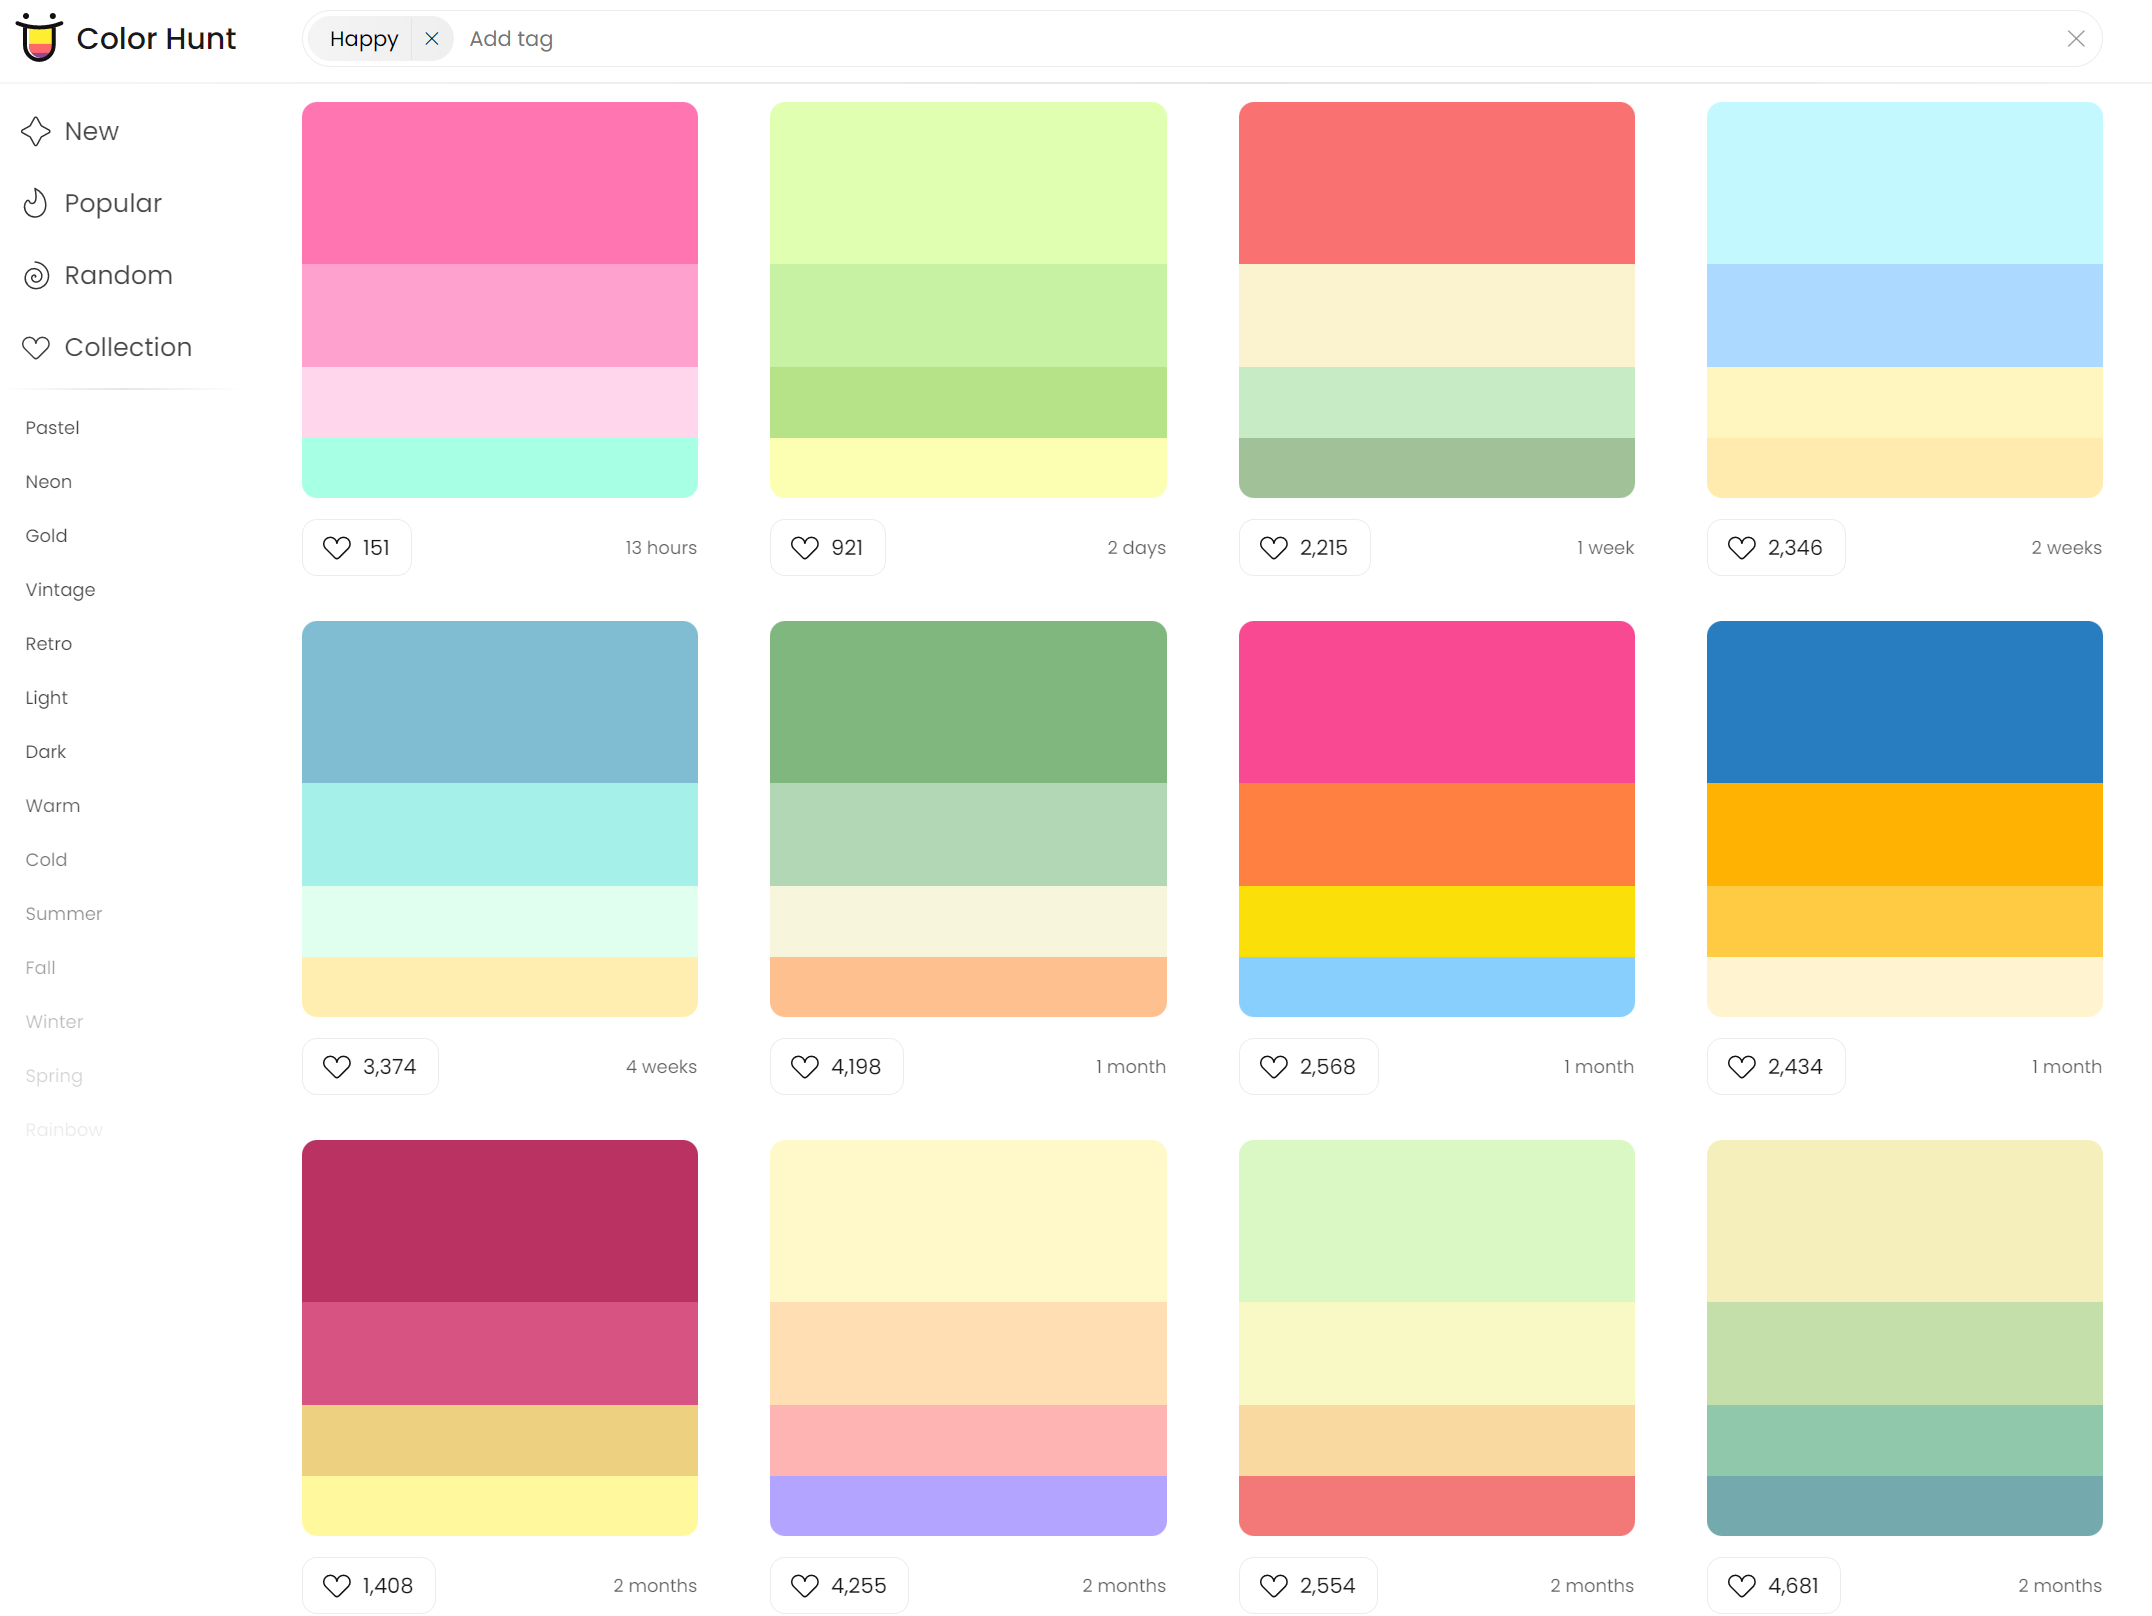
Now it is time to pick your color palette and typography. In addition to the inspiration board you created, these websites are great resources:
- Color hunt categorizes color palettes by seasons and moods- super helpful!
- Typspiration has free fonts/font combinations
Step 3: Brainstorm imagery that aligns with your content
Create a list of all the key characters, settings, objects, and symbols from your book. Now narrow down the list by asking yourself these questions:
- Which elements most accurately represent the contents of my book?
- Which elements align with the mood?
- Which elements will capture my target audience's attention/ what will resonate with them?
Pro Tip: Look at book covers you have read and consider the imagery the author chose for the cover. Are the characters and symbols vague, or crucial parts of the story? What imagery are you surprised that they didn't use? Seeing what other authors are doing will help you think outside of the box.
Step 4: Arrange elements in a standard layout
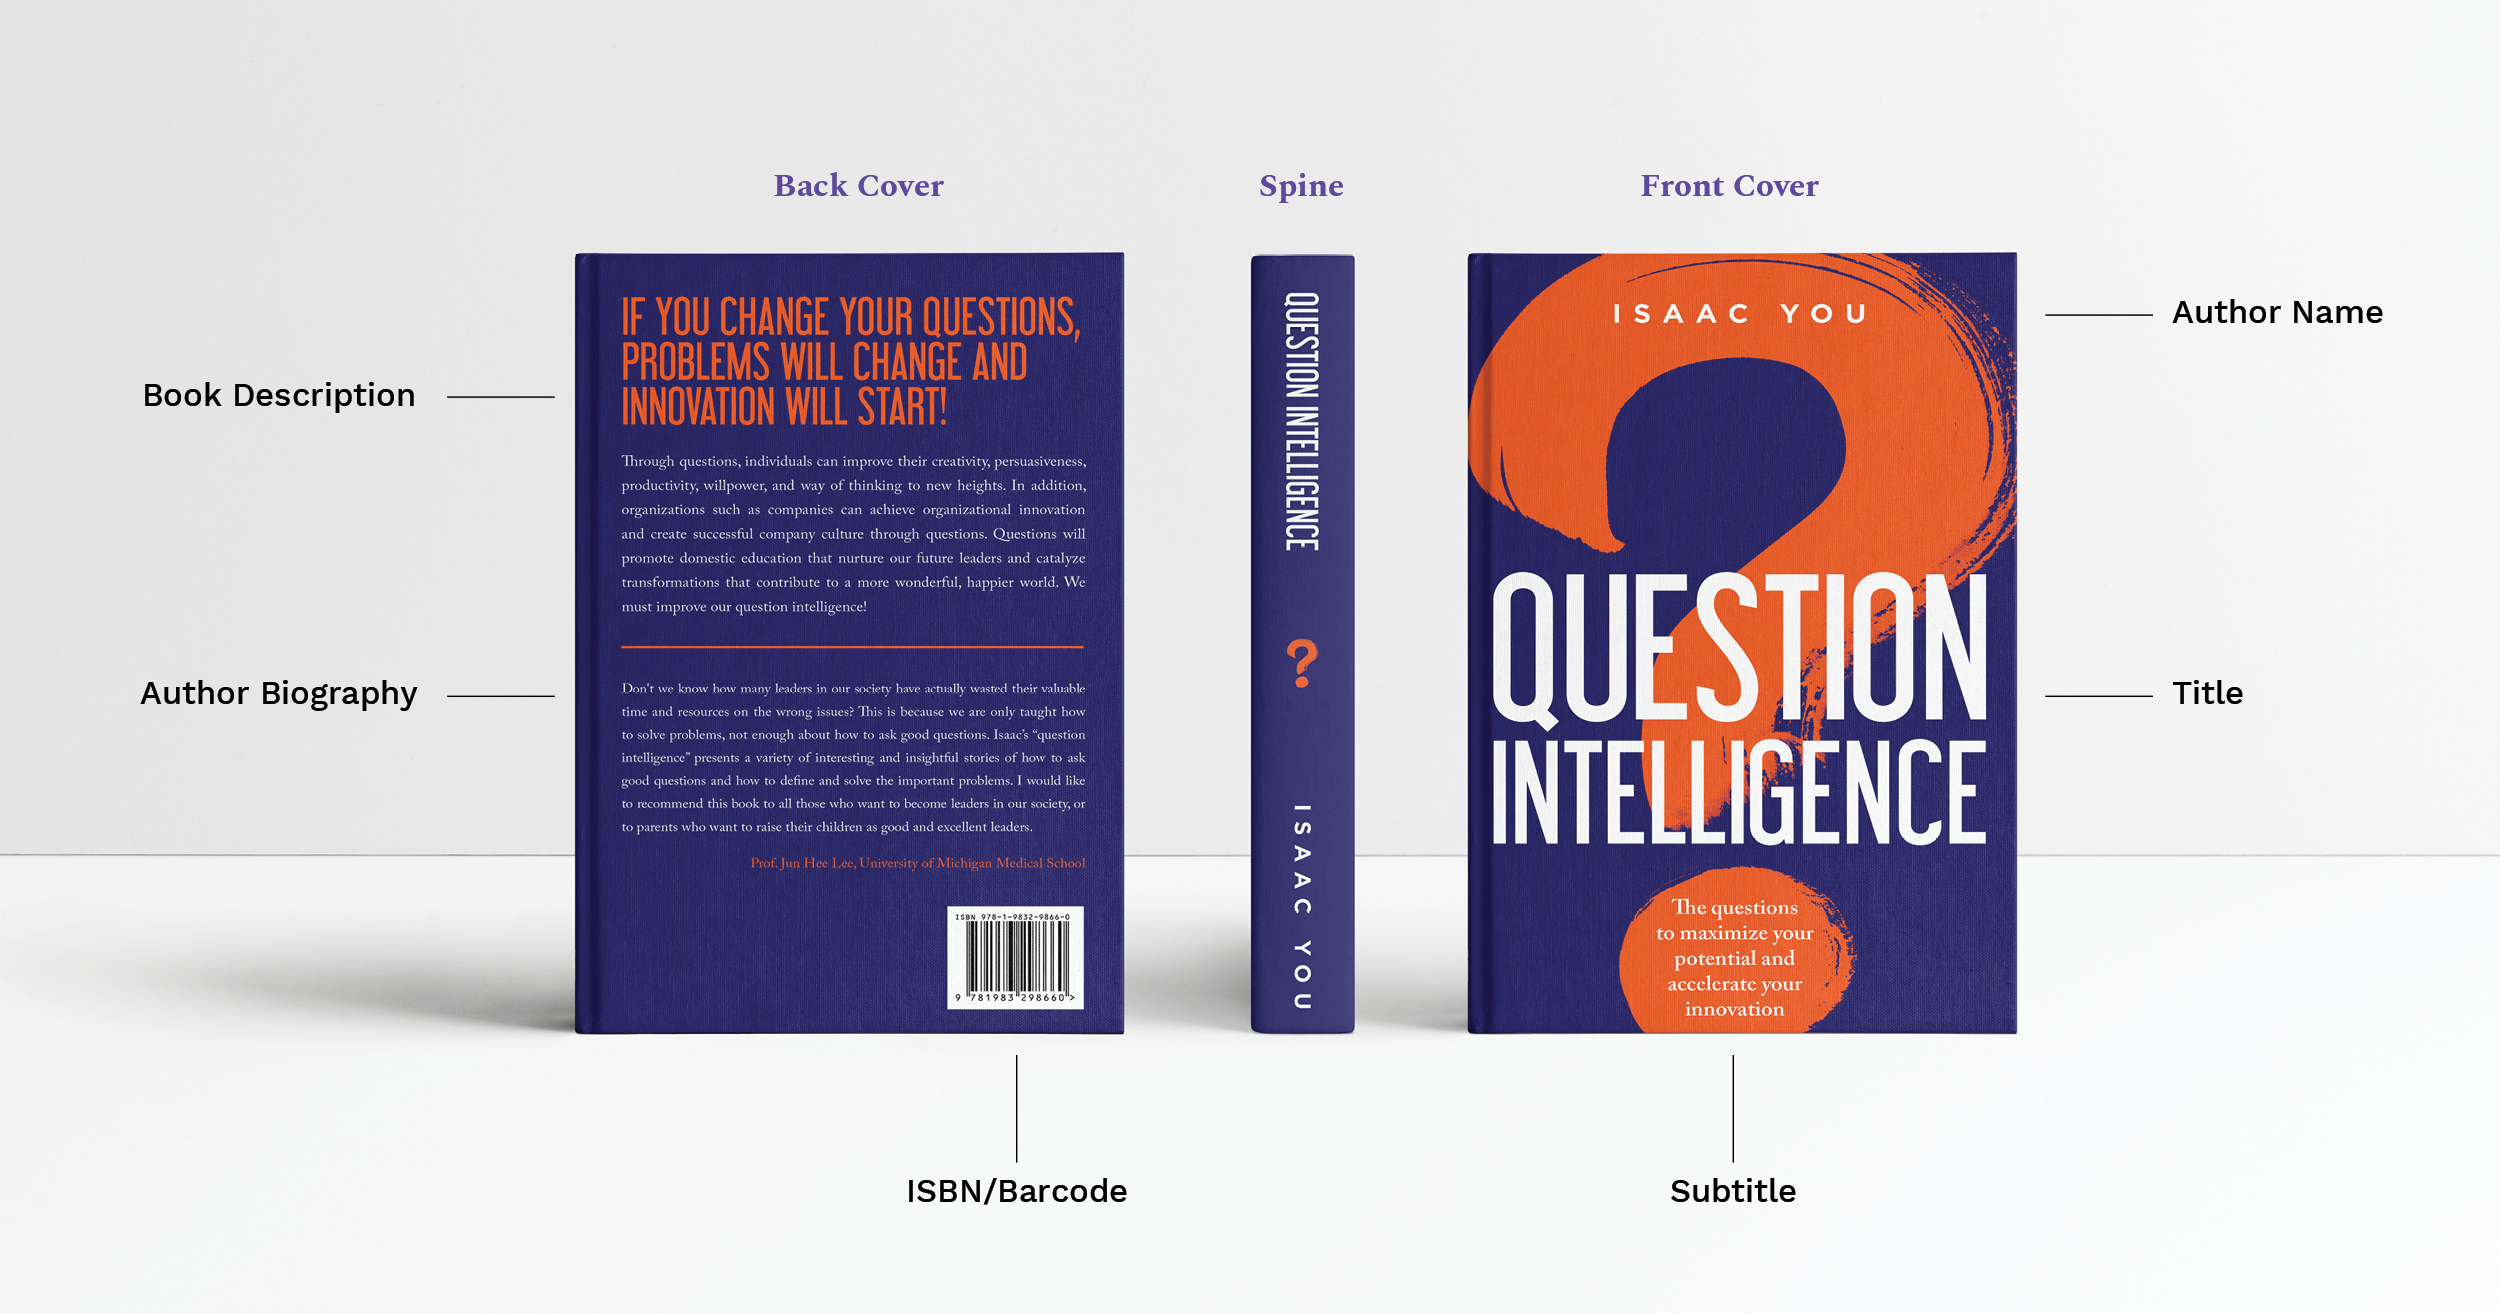
Image source: buzbooks
A good book cover is intuitive; our eyes know right where to look to find the author's name or the description of the book. Keep the layout of your book cover design standard so as not to confuse potential readers.
Here is the checklist to make sure that you don't forget anything:
Front cover:
- Author name
- Title
- The title should be the first thing your eye is drawn to and easy to read.
- Hero image
- This is the main image that will catch readers' attention and suggest what your book is about.
- Subtitle or tagline
- Subtitles can help provide clarity on the contents of the book. This element is especially important for ebooks as you can include additional searchable keywords.
Back cover:
- Author biography (optional photo)
- Introduce yourself and share your credentials. Use this as an opportunity to connect with your readers on a personal level.
- Book description
- Think of this as a pitch to your target audience on why they should read your book. Make it an exciting introduction, but be careful not to give too much of the plot away. You want to provide just enough information to pique interest.
Spine:
- Author name
- Title
Step 5: Putting it all together
Now you are prepared to create a stunning book cover that reflects your work. Canva is a popular design software for this. BoxShotKing is a great option too. Both of these have thousands of stock images, fonts, and colors available for commercial use, which can take a big load off of your shoulders (psst, if you do use Canva, check out these little-known hacks).
Pro Tip: Create multiple rough drafts to find what combinations of elements you like best. Our best ideas are often our last ideas.
Step 6: Perfect product placement
Once you have your cover designed, it is time to level it up by turning it into a 3-D mockup. This will add a level of professionalism to your online displays and social media promotions.
Pro Tip: BoxShotKing enables you to create 3-D mockup books inexpensively without Photoshop!

A few final thoughts
Familiarizing yourself with design principles can equip you and give you the confidence boost you need to design like a pro. We wrote this brief introduction to the 4 most important principles of design. These are common design mistakes to avoid as you design your cover.
Now be creative, think outside of the box, and have fun! You have already achieved a huge accomplishment by finishing your book, now it's time to show it off!